Sunday, June 16, 2013

Dress the Blogger Part 2 - Natalie!

************

Welcome to my new little mini-series, Dress the Blogger!  I love fashion, but since my blog is anonymous, I figured I'd challenge myself and see how I'd do dressing other bloggers!  I hit up my 4 favorite bloggers who have styles similar to my own, (which varies, let me tell you), and am going to create 3 looks for each one and we'll see if I can even get remotely close to anything they'd actually wear.  Big thanks to these awesome women for participating and I hope they like what I've picked!  Since this is all in fun it is budget smudget....If I see something on polyvore I find fitting, it goes on the list even if it is thousands of dollars because everyone can dream, right?

*Note:  I couldn't, for the life of me, figure out how to post from polyvore to here and may or may not have spammed shit like 12 times trying to get it to work, so in the end I just saved then uploaded like pictures and if you'd like to view them on polyvore, there are links provided below each set and there is also, alll the way at the bottom, my polyvore information!  :)

************

Round 2 is Natalie from Extra Large as Life.  She runs a super adorable size-positive plus-size fashion blog plus whatever other randomness is going on with her at the moment!  Sometimes heartfelt, sometimes crazy antics and gorgeous vacations, her blog has kept me entertained for hours on end and I've been following it for quite some time now, so definitely check it out!  

Her style is similar to mine in that I tend to wear a ton of dresses and skirts with bright, loud patterns and accessories mixed with super nerdy elements, plus we both seem to have a love for wedges.  I love all shoes, but boots and wedges just make my heart sing.  She is also closer to my size, though proportioned differently, (this series is celebrating ALL shapes and sizes because we all rock), so while these are skinny-people sizes on the board, I chose cuts and patterns that would flatter her shape and be fairly simple to locate in plus-sized shops or thrift shops or maybe even sew if your'e good!


This set I thought would look great on her for a girls' night out.  The sheer panels would show off her calves, while the trim waist with the thin yellow belt would show off her waist.  Since she's not totally all groovy with her arms yet, I included a pink cropped bolero that matches the pink stripe in the awesome wedges.  I also threw in the large, girly print tote bag, (because I've seen her What's in my Bag posts and her bag rivals mine!), and some cute, chunky earrings and a comic book-inspired necklace for a bit of a nerdy touch!


This set I chose for Natalie because that girl can rock the hell out of a peplum skirt.  I kept finding shoes and jackets that I thought would look great with the sheer top, skirt, and studded bag, so I decided, what the hell, I'll just make this one of those several-in-one outfits.  I kept the shoes flats or wedges since she has trouble with heels and kept the jackets cropped to show off her waist and the peplum.  For the first option, there's a denim jacket and pale yellow tennis shoes that match the trim on the top with bright pink accessories to add more color.  The second option is a leather biker jacket with studded yellow flats and chunky black jewelry, while the third is a it softer with a neutral jacket, yellow wedges, and wooden bangles.


Set 3 is what I thought would be a great date set for her.  The asymmetrical skirt is cute and sexy as hell.  I chose a corset top because, in my experience, most women who can pull off a peplum can kill a fucking corset. Seriously.  I added the blue bolero and the whole thing is offset a bit by the chunky black wedges, since while Natalie's style is pretty girly, there is usually at least a hint of an edge thrown in there somewhere, even on her girliest outfits I've seen!  I topped this one off with some cute pale blue shades, turquoise-colored chunky gemstone jewelry, and a funky orange clutch to pull the orange out of the corset a bit.

So, Natalie, how'd I do?  Would you wear any of this or are you running away from the screen?  >.<

Two more bloggers to dress on the way, guys, hope you are enjoying the series so far!  <3

<3
WookieWifey

Saturday, June 15, 2013

Dress The Blogger Part 1 - Sayward!

************

Welcome to my new little mini-series, Dress the Blogger!  I love fashion, but since my blog is anonymous, I figured I'd challenge myself and see how I'd do dressing other bloggers!  I hit up my 4 favorite bloggers who have styles similar to my own, (which varies, let me tell you), and am going to create 3 looks for each one and we'll see if I can even get remotely close to anything they'd actually wear.  Big thanks to these awesome women for participating and I hope they like what I've picked!  Since this is all in fun it is budget smudget....If I see something on polyvore I find fitting, it goes on the list even if it is thousands of dollars because everyone can dream, right?

*Note:  I couldn't, for the life of me, figure out how to post from polyvore to here and may or may not have spammed shit like 12 times trying to get it to work, so in the end I just saved then uploaded like pictures and if you'd like to view them on polyvore, there are links provided below each set and there is also, alll the way at the bottom, my polyvore information!  :)

************

I'll be going in order by blog name, so let's get started!  First up is Sayward from Bonzai Aphrodite.  If you don't know who she is, you should definitely clicky the link and check out her blog.  I've been following her for a very long time now and she has some truly incredible recipes and tips that are fun and easy to integrate into your lifestyle even if you're not vegan!  Our eating habits are probably at least 15% healthier because of her, so thanks and keep up the awesome work, Sayward!

From what I've seen of Sayward's style on her blog, she's is big into layers and not super into uber-girly stuff.    Her style is similar to mine as I also love to layer and have a huge love for bohemian-type looks and boots Boots BOOTS!


This is something I envisioned for her on a casual day because since she is fairly freshly single, the lace panels on the shorts paired with the garter leggings give it a sexy vibe without making it overly-girly.  Also, having stupidly long legs myself, I know that what are 'normal' shorts on most people tend to be 'hooker' shorts on a long-legged chick, so leggings can be essential sometimes.  The rust bag is vegan and appears roomy enough to carry plenty of toddler snacks and supplies and it wouldn't be complete without the studded black boots (also vegan).  I added bright accessories for a pop of color and shades since she's a sun-lover!


For Sayward I did two casual sets as she's a single mom on the go.  This is rather simple, boyfriend jeans with the 'chill' crop tank layered over the blue one with the lace panel to give it that little bit of feminine touch to the outfit without making it uncomfortable toddler-chasing attire.  To this one, I added a cute, bright duffel bag to carry around toddler stuff, though I don't know how large it is, so possibly Waits could even hitch a ride!  It, of course, matches the super cute vegan tennis I found.  Top it off with the 'VEGAN' studded belt and matching aviators for her and the kiddo and there we go!


This is what I pictured for a dressier outfit for her, maybe for a date night!  A cute, floral print vintage dress paired with comfy glitter flats, pearls, and OH GOD I LOVE THAT BOOK CLUTCH, paired with a military-style jacket to give it a bit of edge and personality to offset the lady-like-ness just a bit!

So, there's my ideas for Sayward, who has been an awesome sport in participating so don't forget to check out her blog!  Here's hoping I got somewhere at least relatively close to her style!  >.<

3 more in the series coming up, so keep checking back!

<3

WookieWifey

Wednesday, June 12, 2013

Small Update

Apparently, Google Friend Connect is going bye-bye.  Thanks to Sian (sorry I don't know how to make the little characters that go over letters!! LOL) for posting, because I'd not have had a clue.  I guess I'm hiding under a rock somewhere.  Either way, you will notice, on all 3 wings of the little blog manor, here, that on the right there has been a link added to follow by Bloglovin if you'd prefer.  You can also follow by email, pinterest, twitter, or facebook, though I never update the last two, so please set things accordingly and BOO at Google for making us all have to change stuff!  :)

<3

WookieWifey

Tuesday, June 11, 2013

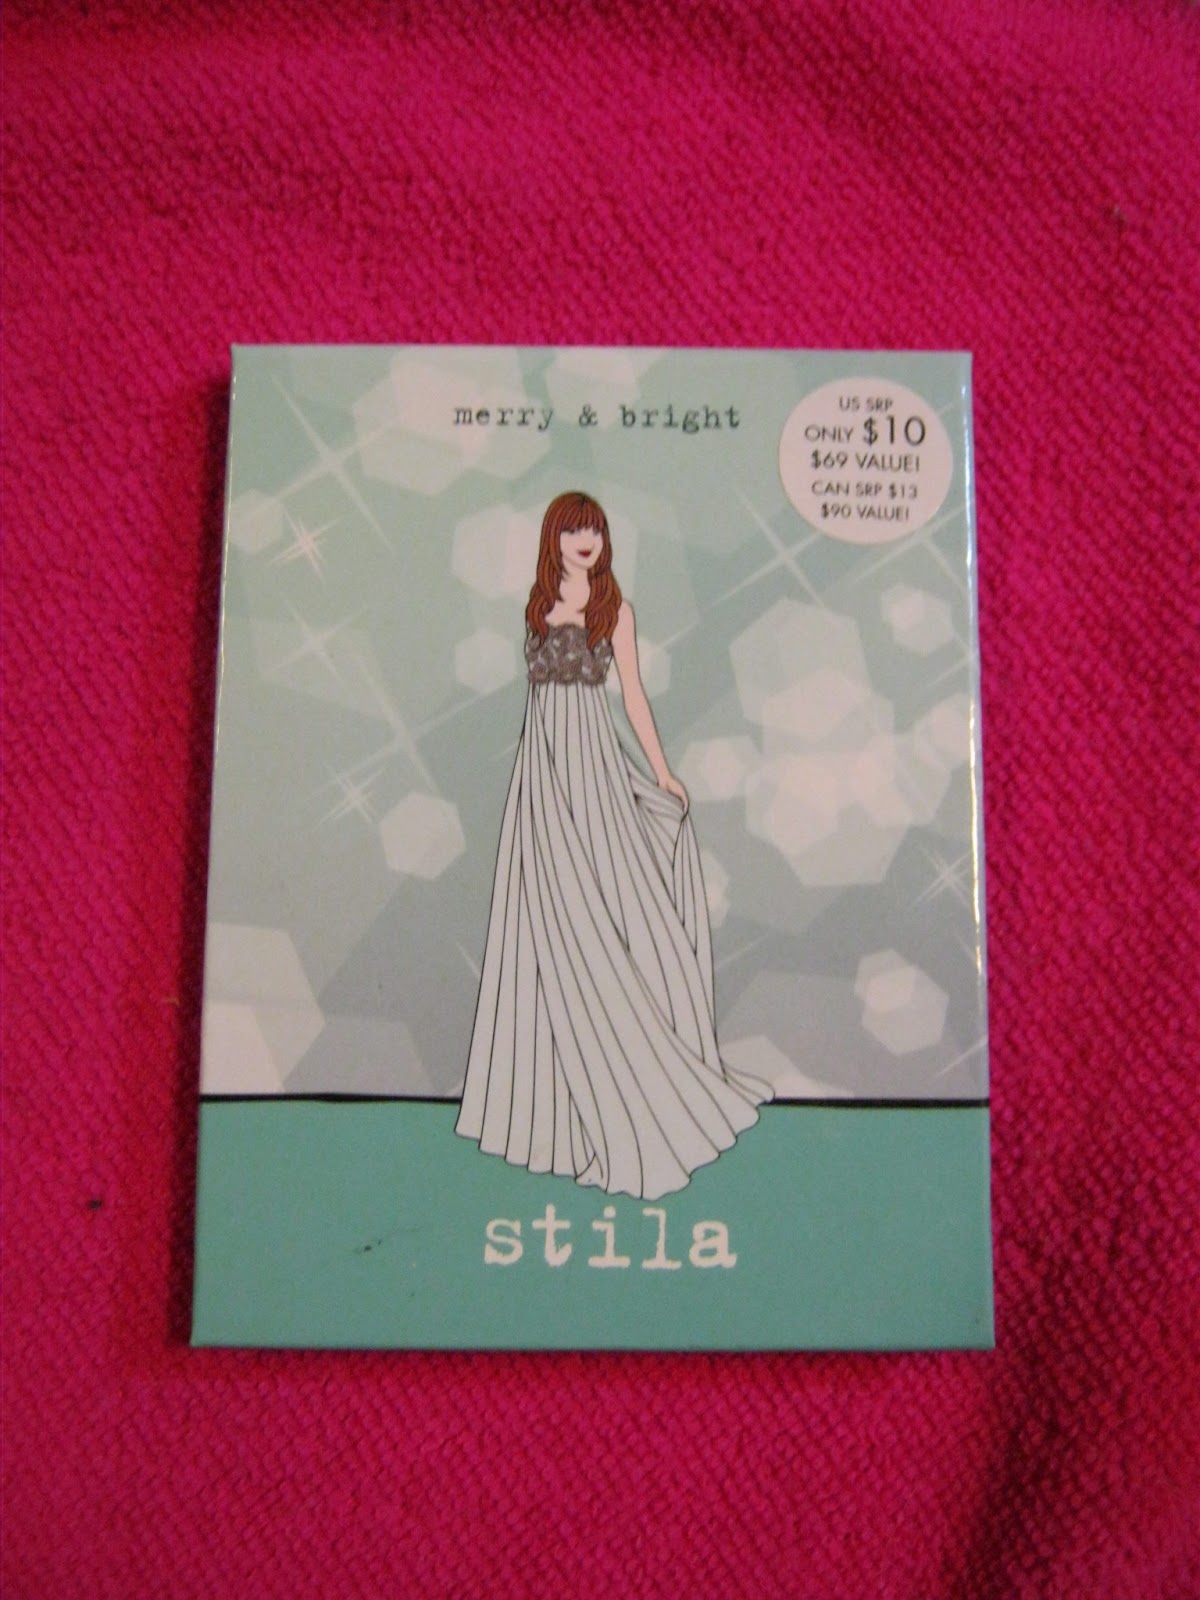
Stila Merry and Bright Palette Review

*This was a gift from a friend, but opinions are 100% my own

I'm not a neutrals person, usually, but I adore this palette!  I know I already swatched a lot of the things I've been reviewing lately, but I wanted to do a full-review with a back cap on the swatches because I like to use a product for a bit before I pass judgement.  I realize this may leave me a bit behind in trends, but I never cared to be trendy anyway, and I'd prefer to give a good, honest, thorough review rather than rush it and have to come back later and say "you know what, this wasn't so great after all".


This is the Stila Merry and Bright palette, and it is so handy.  It is very convenient to just toss in your bag because the lip color is also for cheeks and the black is so pigmented and opaque that it can be used as an eyeliner in a pinch with a dampened brush.


Not to mention, it is cute as all hell.


The colors are, starting at the top and going clockwise, Chill, Glisten, Joyful, Ebony, Butterscotch, and Molasses.  The lip and cheek color is Lillium.  LOVE that name.  Every time I use it, it gets the song 'Lillium' by Silent Opera stuck in my head, which is an awesome thing!


Here are the swatches again, in case you need a refresher.  The lip color has an amazing formula.  It goes on nicely, is build-able, and isn't stick in the least and doesn't have that odd chemical flavor some lipsticks do.  Sadly, it isn't my color and makes me look rather dead-ish when I wear it, so I usually use it with a cheek color or blend it with a color from the BITE palette.


Chill and Glisten just baaaarely show up in the photos, but they are well-pigmented, just very light and blend in with my pasty arm, but are beautiful on and are light enough to go wonderfully with a retro cat eye.  In fact, I've now used almost all of Chill as I do that look a lot.  You can see from the top swatches that the darker colors are wonderfully pigmented.

This goes for about $20 on amazon with the lip glaze, which isn't bad.  On the Stila website, these palettes are on markdown for 9 bucks which is WHEEE!  They don't have this exact one, but they have several similar ones I'm salivating over, so I'd say definitely worth the value!

I have what will hopefully be a super awesome series starting in the near future, so keep guessing!

<3
WookieWifey

Thursday, June 6, 2013

Sephora Kat Von D Rock N' Roll Eyeshadow Duo Review

*This was a gift, but opinions are 100% my own.


I was pleasantly surprised with this eye shadow.  As you can see, the case looks sleek and cute and I'm glad at least some effort was made at embellishment.  Down with plain cases!


This is the King Cobra Rock N' Roll Duo and it is two apparently nameless greens.  They are almost identical in the pan except that one is more sparkly than the other one and maybe a shade lighter.


The color on the left is on the top and the color on the right on the bottom.  The swatches are over primer, wet, and dry just so you can see the difference.  Dry, these go on quite light and go pretty much wherever they want.  Over primer, they stay put a little more and show up better, although still not stunning.  We'll discuss wet in a minute.

While I like the right-hand (bottom) color, I'm forever perplexed by it.  It looks almost the same in the palette as the other color, but it comes out with almost a blue tone to it that, oddly enough, makes the color not seem to match any blues or greens I have!  >.<  I've used it with just black and white a few times, but it just throws me off!


What really got me was the left-hand side color when wet.  It comes out this gorgeous, shimmer, reptilian, metallic green and I just love it.  It blends quite nicely with many of my other greens, coopers, blacks...This goes with almost everything and pairs especially beautifully with Sephora Colorful Mono in Strass N. 11, which I will be reviewing soon.  These colors have a horrible fallout, and, in my opinion, were born to be worn wet as they come out beautiful, pigmented, and stay where you put them when you dampen your brush.


I couldn't find this duo, but Sephora's website has Kat Von D singles for $16 and from what I can tell when this was around it was regular price about $20.  While that isn't too steep a price if the color is especially awesome, I noticed other reviewers had similar complaints about the bad fallout as well, so beware of that.  If you want to pick these up on ebay or something, keep in mind they work best as wet shadows and you should be golden.

Do you like seeing swatches done all 3 ways or do you prefer just over primer?

<3 WW

Wednesday, June 5, 2013

Make Up For Ever Aqua Eyes Review

*These were a gift from a friend, but opinions are 100% my own.

These are so much fun.  Another one of those "can they really be worth all the hype" products, and you know what?  Yeah, they kinda are.

Q-tip to keep them from rolling away.  Professionalism at its best!
 I use the shit out of these and really can't say enough great things about them.


They are drawn on in the color numbers so you can tell what's what.  You can see from how clear the letters and numbers are that these just glide on.  2L is a medium brown, 1L is a dark, dark charcoal grey, 4L is a nice purple with reddish tones, 12L is a gorgeous, vibrant blue that comes off almost turquoise, and 21L is a silvery-grey.  They don't exactly look metallic, but they just have sort of a nice, glowy sheen to them.  They are soft and go on very smoothly and blend easily and I just love them.

However, they do have a down side.  Two, actually.

The first is they are NOT smudge-proof.  You have to be very careful not to rub your eye all day or your whole look is ruined - a challenge if you have allergies.  I tend to use the blue and purple the most and I use them on the outer part of my lower lash line and if I sneeze and rub the edge of my eye without thinking about it, then half my color is gone and I have to either re-do or rub the other one so it matches.

Second downside?  The price.  I wish so badly it weren't so high because I'd just use these all the time despite the down sides, because they are so vibrant and easy to work with.  These things go for about 35 bucks a pop on amazon for a full size one or 20 bucks for a tin of 5 of the mini ones.  You be the judge of whether that is worth it.  I may, once in a blue moon, toss the little $20 kit on my wishlist since they last quite a while, but I just simply can't afford or justify 35 bucks for one stick of liner.  Even if I could, it would have to be a PERFECT liner, no smudging every time my allergies act up, because, let's face it, I could sacrifice a bit of the vibrant color for a waterproof drugstore liner that would last through the apocalypse.  You know those chicks on tv who are fighting zombies in a waste-land with wicked good eyeliner?  Yeah, they wore Revlon Colorstay on the last day before the world ended and they just can't get it off.

<3 Wookie Wifey

Monday, June 3, 2013

Review - Hard Candy Beauty to Go Hypnoteyes

Another review!  I know, you're shocked, right?  This one was a total impulse buy.  I'd been on the lookout for a good purple liner to replace mine.  Mine is Make Up For Ever and it is getting close to croaking and as much as I love it, I can't afford to replace it with another of the same brand, so when I ran across this Hard Candy set with the purple glitter liner, I had to try it.


Yep, blurry picture.  That's my fault.  You can thank blogger for the sideways part.  I edited the picture and had it right side up, but for whatever reason blogger insists I can not replace it, so oh well.  You can't win 'em all.  Either way, this was $4, I think, for the set which comes with one mascara, one eye liner, and one glitter mascara.  They are supposed to be minis, I think, but honestly only the liner looks small to me, the others look pretty standard size compared to some products I have.


When you open the box up, everything is wrapped in pretty pink tissue paper.  Maybe kind of stupid, but its the little things that get me and opening a store-bought cosmetic product to see something so frilly and gift-like is nice.  Add this to the fact that Hard Candy always has adorable packaging anyway, and I'm kind of smitten.


This is the Flat to Fab mascara and it is pretty damn awesome.  It didn't do as well on my lashes as the Buxom, but it did do a damn fine job.  I'd say this is one of the best drug store mascaras I've tried to date.  Pity my eyes hated it.  While this is a great mascara, I'd say to stay away if you have sensitive skin.  This stuff made my eyes water, itch, and sting something awful and I've never had trouble with another Hard Candy product.  Unfortunately, even the best mascara doesn't look so great once you've cried it all off.  If you don't have sensitive skin, however, this is one you should check out.


On to the lash tinsel!  This is made to go over a plan mascara, according to the directions, and god do I love this stuff.  This is the only glitter mascara I've ever had actually come out glittery, and it looks GORGEOUS when worn with Sephora Eye Glitter.  I guess the magic in this is that it is made to be worn over another mascara, therefore the glitter gets to shine to its full potential, and it does.  Serious twinkly lashes, for sure, and the glitter actually stayed put and didn't fall all over my face throughout the day and, oddly, this one didn't make my allergies go apeshit the way the other mascara did.


This is what drew me to the kit in the first place.  Take Me Out Liner.  It looked super glittery and the Make Up For Ever one I have is a metallic purple Aqua Eyes, so I was hoping for something comparable.  Did I find it?


Well, not exactly.  Kitteh is helping me review it and she isn't too impressed, either.


You can see how it comes out thin and almost sheer in some places then crumbles off in others.  I think this is due to the glitter drying it out because this stuff is just quite crumbly.  It goes on smooth, but just leaves chunks behind sometimes.  You can get them to smooth out easily with a smudge brush and still keep the line quite clear, but it is still sort of annoying and, to boot, the glitter doesn't show up.  Like, at all.  It pretty much crumbles off in the clumps and you get left with the lighter purple you see on the tops of the loops, which isn't bad, but not really what I was in for.  Basically, if I find absolutely nothing else, this will do in a pinch, but it (hopefully) won't have to be my new go-to to replace my old one.  Guess for now I'll keep trying.

Overall, I'd say the set was worth $4 just to find a good glitter mascara, though I can at least work with the purple liner.  The Flat to Fab, however, isn't going to make the cut since my skin is ridiculously sensitive, which is sad as it is such a good product.  Verdict?  Unless you have sensitive skin, go for it.

<3
Wookie Wifey