Showing posts with label nails. Show all posts
Friday, September 19, 2014
Manicure time! (also...review)
Oh yeah. Guys, I finally got some of the Fergie nail polishes, thanks to a friend, and I am NOT disappointed at all!
I love the packaging, the heart-shaped bottle, and the cute little 'F' stamp on the top.
I love everything except that stupid new Wet-n-Wild flat 'pro' brush. That thing sucks, but I guess I have to live with it. However, I do reserve the right to bitch up a storm every time I have to wrestle with the damned thing.
Anyway, on to the color and mani!!
Fucking love this color. It comes out somewhere between a hot pink and a bright coral. I find that three coats work best, though I think I used two here, so you can still see a bit of translucency in the tips, and since it is a neon it dries matte, so you do have to top coat it.
All in all, though, I love this color. I find it to be very unique since the shade is just...bizarre, but in the best way. Depending on the tone of your skin, the lighting, or what you're wearing sometimes it looks down-right orangey and others it looks VERY pink, which is cool!
What do you think?
<3 WW
Listening to: "Fortunate Son" CCR cover by Reverend
Tuesday, July 22, 2014
Cover Girl Hunger Games Nail Set Review
I'll admit it. I was pretty much a stupid amount of stoked when I found this on clearance. I think I paid $2.50 for it. I was so excited, in fact, that I forgot to take pics before I took it out of the packaging, but what was in there was the nail color and decals above!
I was pretty confused about their pairing choice of the gold decals with the gold color...Maybe it was a mistake and that's why they went to clearance? Either way, I liked both, so I was still happy.
The color is "Seared Bronze".
The photos really don't do it justice. This is in natural lighting and you can't see all the flecks of copper that are in there...it just looks gold.
The 'with flash' shots are a little closer to reality, but still not doing the color justice...However, I like it very much and will use it a ton in the fall. It is 'neutral' enough to match pretty much anything, even a nice dress, yet the copper sheen it has makes it just really pop with flowy, boho fabrics and lots of natural jewelry.
Now...the decals...They're pretty terrible. I put them over a plain red so that they'd actually show up. I loved the design and they were easy to apply, but they stayed kind of...gooey. Yes, the red had *completely* dried before I put the decals on. Within 48 hours, they had gotten gooey-collecting-lint-and-stuff gross and most of them had sort of rolled off as if they were made of glue dots.
I recommend grabbing the set if you can find it on sale for the gorgeous nail color, but knowing what I know about the decals, I wouldn't pay full price for a set, even for the nice color.
<3WW
Tuesday, July 15, 2014
Venique Sea Diamonds Review (Mani)
This glitter top coat actually seriously impressed me.
This is Venique in 'Sea Diamonds'. Now, I'm not usually a huge fan of glitter that is only silver, but this one has so much interest due to the different sized specks of glitter, not to mention that I need a top coat by this brand if their plain top coat is HALF as slick and shiny as this stuff.
Lookit how glossy it dries! Most glitters I have dry kind of matte and dull and you have to pile about 3 top coats OVER them to achieve any kind of gloss at all which, of course, usually gets dinged well before the 12 freakin' hours it takes to dry. Seriously, there have been times I have painted my toe nails, waited 2 or 3 hours, gone to bed, and wake up to smudged/smeared/smashed/imprinted digits. Not cool.
This stuff, though dried super fast over one coat of Sephora Pantone in Anthracite (review coming soon), and I am very, very pleased with this particular product. HIGHLY recommend if you're into epic glitter top coats that you don't have to pile even more crap over and...um...who isn't?
<3 WW
Listening to: Nothing...Need moar coffee...
Thursday, July 10, 2014
Josie Maran Bear Naked Nail Polish Remover Wipes Review
Good god, that's one helluva title, isn't it? I've yet to try a Josie Maran product I *don't* like, but I have noticed that most of the titles for their products are crazy long!
First off...check out this packaging. Isn't it adorable? I mean, come on, only evil people hate polar bears.
Inside are the remover wipes. They look pretty normal and unassuming. They're amazing. While I didn't notice too much of a grape-fruity smell, they didn't have a bad smell, either. They do quickly and effectively remove nail polish, though, and even the heavily-glittered and confetti ones, so that was super impressive! No soaking, no scrubbing, just a relatively quick and painless removal.
The cuticle oil in them is lovely. I would remove my nail polish, then wipe my nails down with a paper towel to get the oil residue off of my nails, but still have it on my cuticles, then paint like normal. Even though I'm sure there was still a bit of residue on my nails, my nail polish still lasted just as long as usual, but my cuticles were *much* more happy since cuticle oil is one of those things I almost never own or remember to buy!
The only thing I found to be a bit irritating about these is the lids can be quite hard to get back on without cross-threading them, so you have to be pay attention to how you put them back on so that they don't do that and end up drying out the wipes, but that's such a tiny, minor complaint in the big spectrum of awesome, here!
Overall? HIGHLY recommend these! They were tons better for my nails AND easier to work with than traditional nail polish remover.
Listening to: "Celtic Frosted Flakes" - Stormtroopers of Death
Sunday, November 24, 2013
Random Manicures
Since I have quite a few things I need to swatch and take pictures of, I figured I'd just do a post of past manicures I've done, but didn't blog (or don't remember if I did) to hold you guys over.
This was the first truly intricate nail design I ever tried. Since I'm me, I was halfway into it before I noticed I had no nail polish remover left, so you'll have to excuse the messy edges. The theme is L from Death Note. If you haven't seen the anime, he is munching on some sort of sweet or candy in almost every scene.
The index finger is supposed to be lollipops, but they didn't go so well. My traffic finger is cupcake frosting with sprinkles and a cherry, ring finger is L's little L symbol he always used, and the pinkie is jelly beans! The teacup on the thumb is the one I'm most proud of, but we'll come back to that.
Other hand was rhinestones on the thumb as gumdrops, a sort of jawbreaker pattern on the index, little glitter hearts for conversation heart candies on the traffic finger, ice cream with a rhinestone cherry on the ring finger, and on the pinkie...Well, I ran out of ideas and just glued a huge gem to it.
Here's a closeup of my tea cup. I'd never attempted anything like this before, so I was pretty stoked with how cute it came out, even though it is a little off-center.
A close-up of the L with the little gem and the others...
This I just kept taking pictures of because I thought it was so gorgeous.
It is like a galaxy in a bottle.
I'm a bit obsessed with this color....I believe it is called 'Catch Me' by Kleancolor.
And a super cute glitter, Starry Night, as well!
This is what you have to look forward to! A friend recently gave me all of these, so swatches and reviews coming soon!! ^_^
<3
WW
Sunday, November 10, 2013
Incoco Nail Polish Strips Review
These super awesome, cute little guys were a gift from a friend, but that in no way has swayed my opinion. I will, as usual, be 100% honest. :)
I'd never heard of this brand, but these little puppies are pretty awesome.
They have instructions on the back as well as inside.
Here's what was in the package: Instructions, a small file, the tips, and clear strips.
With these, the first step is to put the actual tip part on.
Same as you would the regular strips, only you start at the nail bed instead of the cuticle area.
Tips done!
Close-up so you can see the cute rainbow pastel dot pattern.
Next, apply the clear strips over the whole nail.
And done!
Now, while I like these and think they are cute as hell, I'm not crazy about the application time. I guess it would get quicker the more you do it, but it took me MUCH longer to apply these than it does to do a french mani by hand AND let it dry. I think it took me something like 2 hours because you have to do so much fiddling. The small strips seem to be way harder to put on than the full-nail ones.
Either way, they were really cute, a lot of fun to try, and they held up quite well. I wore them for about 4 days before they started to chip really badly and I had to remove them, but that was due to a big cleaning binge with lots of scrubbers, not the product itself. >.<
Now for an announcement:
<3 <3 <3 New Feature! From now on, every blog post, I'll be adding "listening to" space and list whatever song I'm listening to at that moment. I figure that way, anyone who loves finding new shit can look it up if you're curious and maybe find some new bands to fall in love with! <3 <3 <3
Listening to: Lordi - "Would You Love a Monsterman"
So, what do you think? You like the new feature or do you think I should scrap that idea?
<3 WW
Saturday, September 14, 2013
Feather Manicure
~*~*~*~*~*~*~*~*~*~*~*~*~
No, your memory is not failing you, nor is it that funny taste that may have been in your drink. Although, if that actually happened, you may want to look into it. You may have seen this post before. In an attempt to make everything easier to navigate for everyone, I am working on transferring all of the old beauty and craft posts from the recipe blog to their appropriate homes on the newer wings. I'll be only one a day so as not to clog up your feeds, so please bear with all the boring re-caps!
<3
-WW
~*~*~*~*~*~*~*~*~*~*~*~*~
Edit: hilariously, this idea started popping up EVERYWHERE shortly after I posted this, so it must have been a mutual strike of inspiration as I hadn't seen it anywhere and I know I'm not popular enough here for anyone to have seen it, really...funny how that works!! :)
Alone.
Neglected.
Sad.
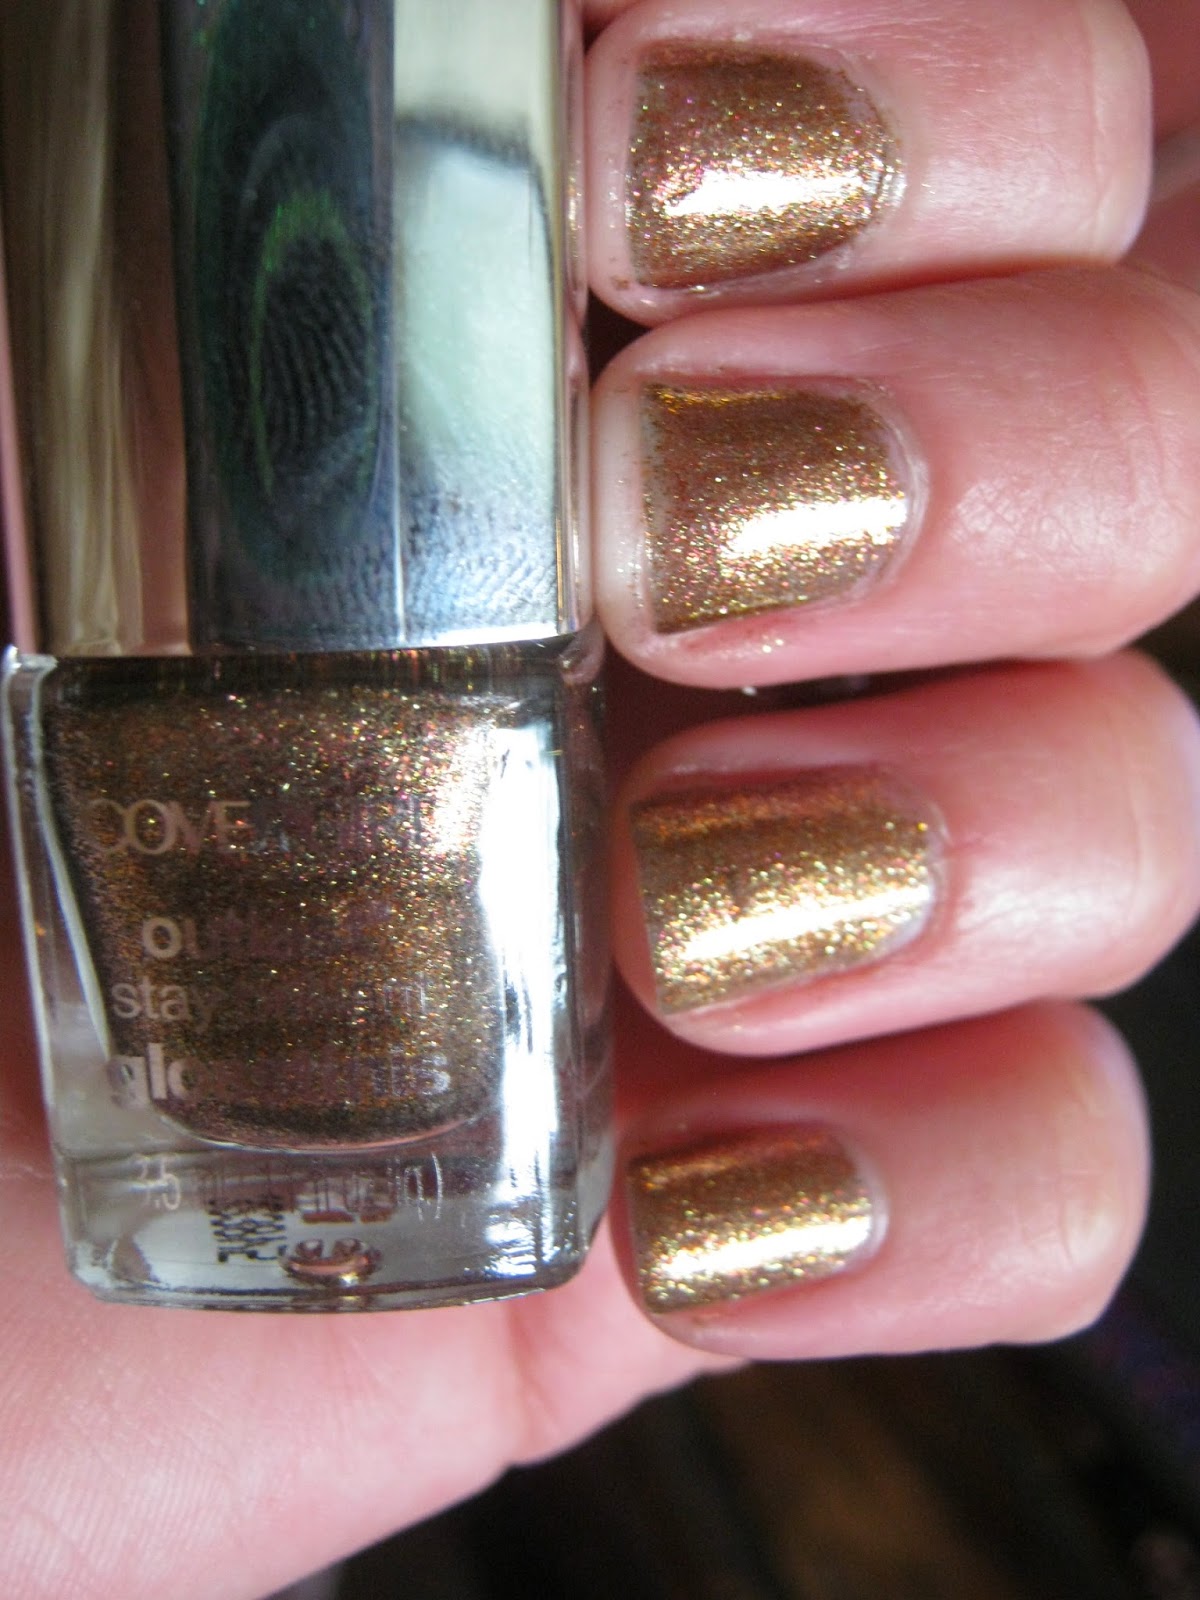
We can't have that, now can we? I've been on sort of a nail kick lately and I'm running out of ideas (nail art is a superb idea until you realize you can't draw) so now I suppose I'm just randomly affixing things to my nails in search of something new, and this is what I came up with:
Not the most awesome thing ever, but I dig it and can't wait to try it with other colors and feathers...And on tips since my nails are so short this was actually kind of difficult.
Pardon me if this attempt at a nail art tutorial sucks, its my first one. =)
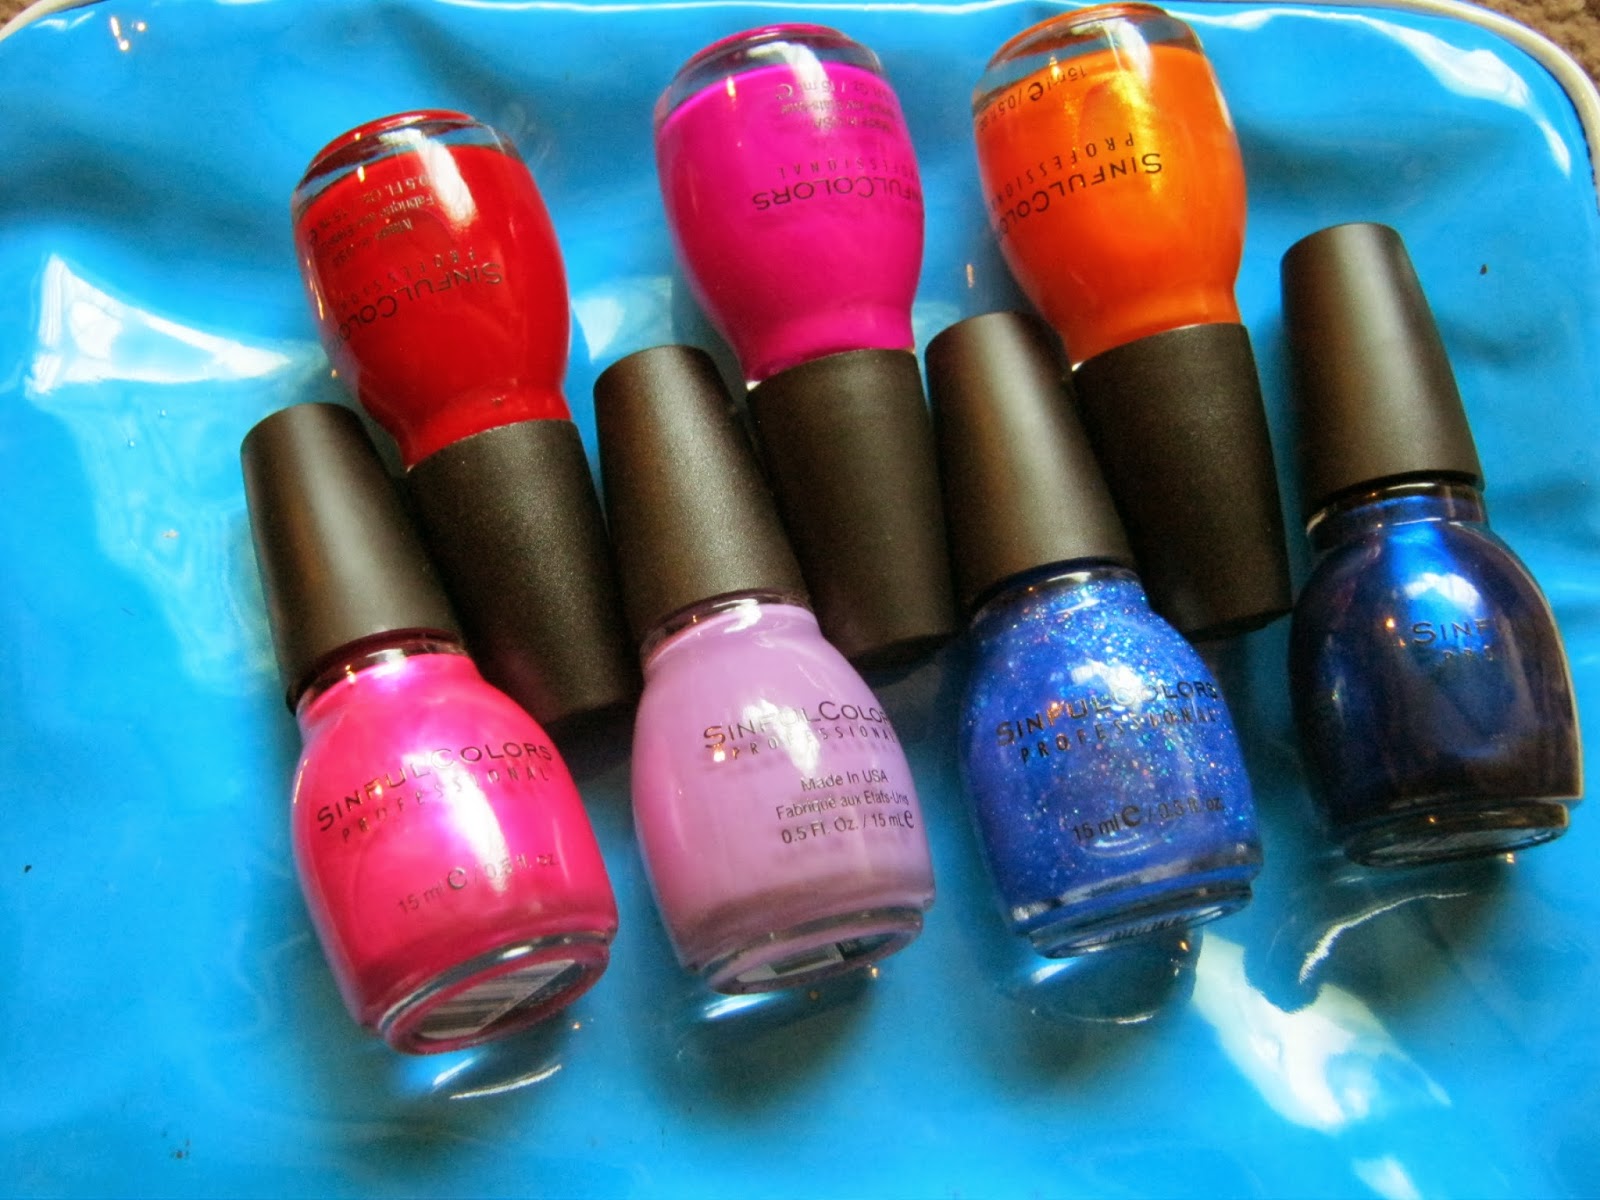
First, put down your base coat if you roll that way and your base color. I used a light blue...My idea was sort of a feather floating through the sky thing although it looks nothing like that, lol.
Then, you'll need your feathers, some tweezers, a top coat, and some scissors (not pictured).
Ok, now there's some pictures missing here since I only have two hands and they were both occupied. I tried two different methods with this: I trimmed the feathers before applying and some I applied THEN trimmed before I mashed them down...Those turned out way better.
Anyway, pick your method...the above is one I trimmed first. Then, apply a coat of clear, grab the feather with your tweezers and lay it on your nail on top of the still-wet clear coat. Before you press it into place (I just used my finger, but if you are fancy you can use an orange wood stick), be sure to go ahead and trim any edges you may have missed that will hang over.
Then, press the feather gently down into the tacky gloss so it sort of sticks and lays flat.
Keep going...And once you've done them all, put a nice, thick clear coat over the top to seal everything in.
Voila!
Feather nails!
...And feather toes...Please to ignore the scratches on my toes, I do own a cat. I tried to do feathers on the right foot on the smaller toes as well, but it didn't work so well.
<3
The Wookie Wifey
Subscribe to:
Posts (Atom)